Note: There is an updated version of this article, which applies to the next generation of TimeXtender.
When TimeXtender is running on an Application Server, SQL Server is not installed on the same machine. TimeXtender will need to connect to SQL Server on another machine to access Repository database. It may also need SQL connections for staging and data warehouse. This article describes configuration steps to enable a SQL connection from a remote machine.
Before connecting TimeXtender to a remote SQL Server, you may use SQL Server Management Studio to verify the connections. Take a note of server machine’s IP address.
Configure SQL Server machine
1. Windows Firewall ->Advanced Settings->Inbound Rules
Add a rule to enable TCP port 1433 (default port for SQL Server)
Read this article for details: Configure the Windows Firewall to Allow SQL Server Access
2. Run SSMS (SQL Server Management Studio) on SQL Server machine
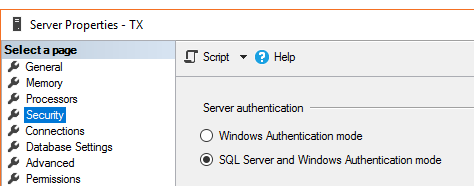
Server Properties -> Security -> SQL Server and Windows Authentication mode (Enable)
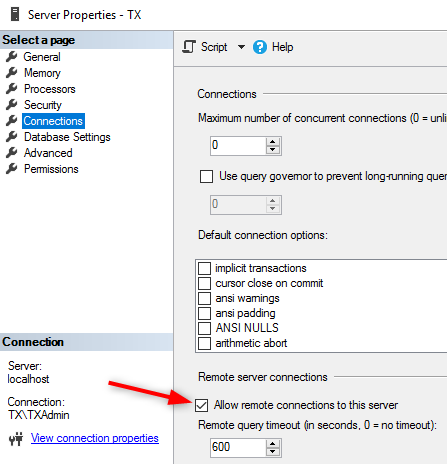
3. Server Properties - > Connections -> Allow Remote Connections ..” should be checked
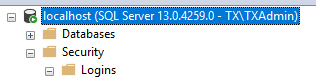
4. Add a SQL login (if not already there)
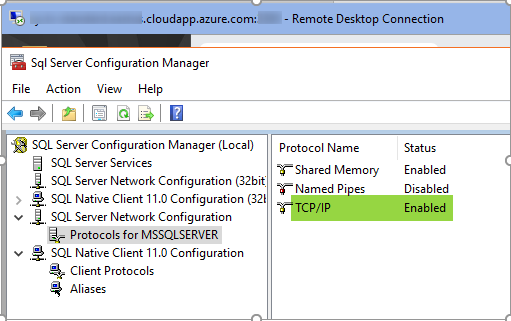
5. Enable SQL Service to listen on TCP/IP
Check SQL Server version and run appropriate version of SQL Configuration Manager to enable TCP.
6. Restart SQL Server Service 
Now you can run SSMS on the client machine, connect to (remote) SQL Server by specifying its local or public IP address, or name. In the example below, all three connections refer to the same remote SQL Server.
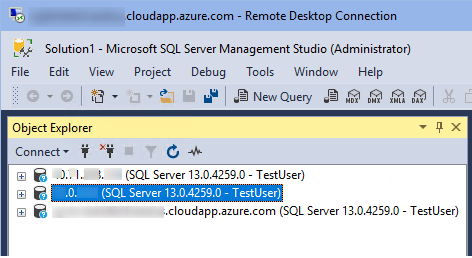
Once you are able to configure connection to a remote SQL Server, the same address (or server name) should connect OK from TimeXtender.
0 Comments