Objectives:
This document describes how to install the Dynamics AX part of the TimeXtender AX Adapter. All shortcuts and screenshots refer to AX 2009. There might be minor differences to older versions of AX.
Prerequisites:
Make sure that you have sufficient privileges in AX to access the Application Object Tree (AOT) and that you have the AX Adapter .xpo file that matches the version of AX.
The Adapter is available for the following versions of AX:
- 3.0
- 4.0
- 2009
- 2012
Import AX project:
Start AX and open the “Projects” Window (CTRL+SHIFT+P)
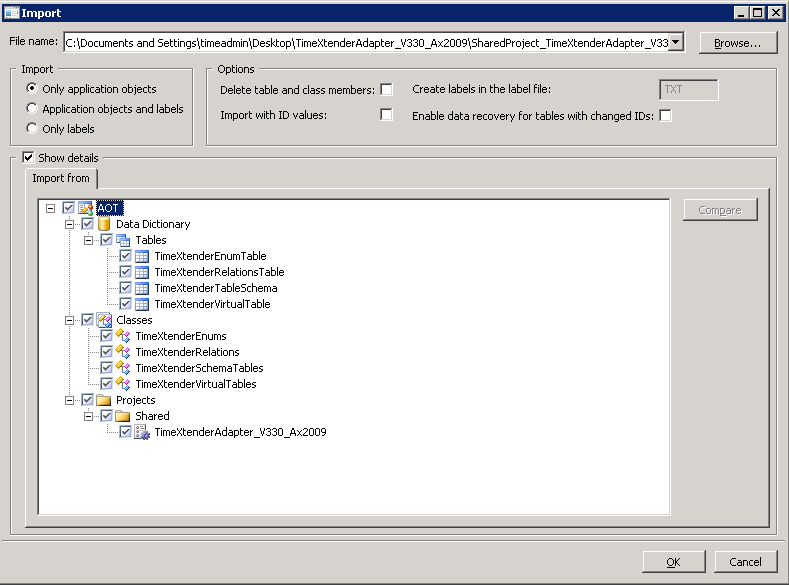
Click “Import” (CTRL+SHIFT+I)
Click “Browse” and locate the .xpo file containing the adapter objects.
Make sure that “Import with ID values” are unchecked.
Examine the contents of the .xpo file by clicking “Show details”

Click “OK” to start the import.
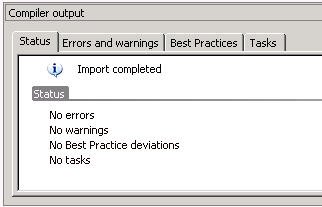
After the import, the project is compiled. If it shows errors or warnings, then recompile the project.
The compiler output should show No Errors, No Warnings, No Best Practice Deviations and No tasks

Execute the AX Adapter Classes:
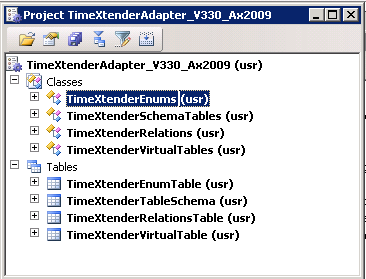
Open the “Project” Window
Expand the Shared Project folder
Locate the project called “TimeXtenderAdapter_V330_<AX Version>
Open the project

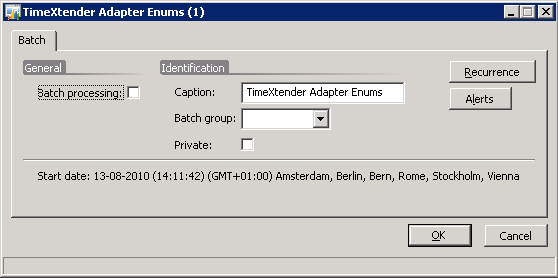
Right click the first of the Classes and select “Open”

Click OK to run the class immediately. Note that some Classes finishes in a matter of seconds, other will run for minutes.
Repeat the last 2 steps for the other 3 Classes in the project.
You are now ready to connect timeXtender to the AX database using the AX Adapter.
Repeat all execution steps if changes have been made in AX – ie new or changed tables, enums, relations, virtual companies.
The Classes can be scheduled for recurring batch executions.
0 Comments